Have you ever wondered how professionals create stunning graphics without hiring expensive designers? Or do you feel stuck because you think graphic design requires costly tools like Adobe Photoshop or Illustrator? Good news! In today’s world, creating professional-grade graphics is no longer reserved for experts with deep pockets. Whether you’re designing for social media, presentations, or a personal project, free graphic design tools can help you achieve outstanding results.
In this guide, we’ll explore the best free tools for creating graphics, provide step-by-step tips on using them, and provide some handy tricks to make your designs stand out.
Why Use Free Tools for Graphic Design?
1. Cost-Efficiency
Let’s face it: premium graphic design tools are expensive. If you’re starting or have a tight budget, free tools can help you create professional-looking designs without the financial burden.
2. Accessibility for Beginners
Many free tools are beginner-friendly, offering simple interfaces and tutorials that guide you through the basics. This means you don’t need to be a pro to start designing.
3. Versatility and Features
Modern free tools are surprisingly powerful, offering features like drag-and-drop editing, pre-designed templates, and customizable elements. These can help you create everything from social media posts to business cards.
Top Free Tools for Creating Professional Graphics
Here’s a list of some fantastic free tools that make graphic design accessible to everyone:
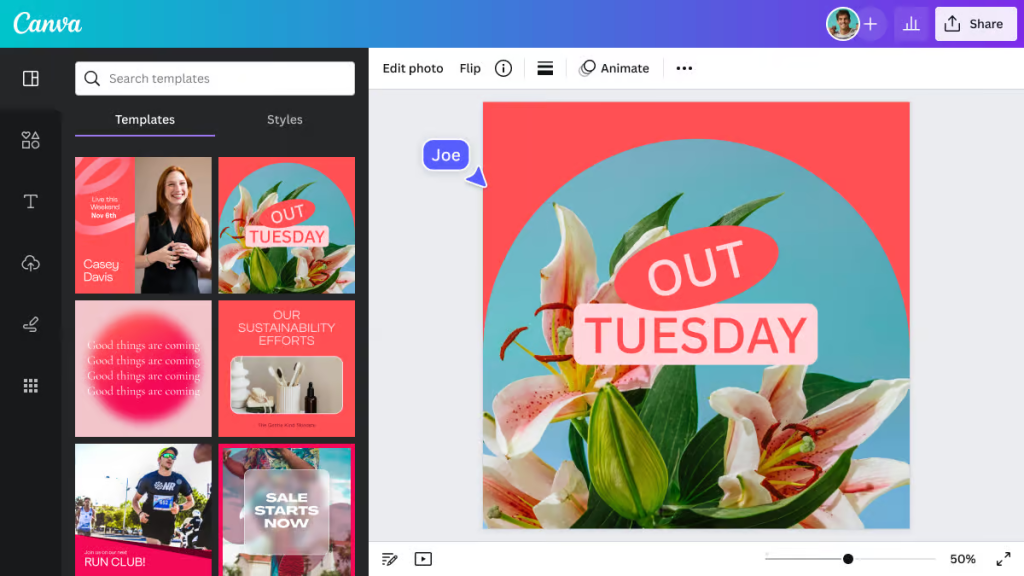
1. Canva
Best for: Social media graphics, presentations, and marketing materials.
- Canva is a user-friendly tool with a library of templates, fonts, and images.
- You can create designs from scratch or customize existing templates.

2. GIMP (GNU Image Manipulation Program)
Best for: Advanced photo editing and graphic design.
- Often referred to as the free alternative to Photoshop, GIMP offers powerful editing features.
- While it has a steeper learning curve, it’s perfect for those seeking professional-level design tools.
3. Inkscape
Best for: Vector graphics like logos and illustrations.
- Inkscape is a free alternative to Adobe Illustrator.
- It’s ideal for creating scalable graphics that retain quality, no matter the size.
4. Krita
Best for: Digital painting and illustration.
- Krita is popular among digital artists and illustrators.
- It offers brushes, textures, and layers to help bring your artistic vision to life.
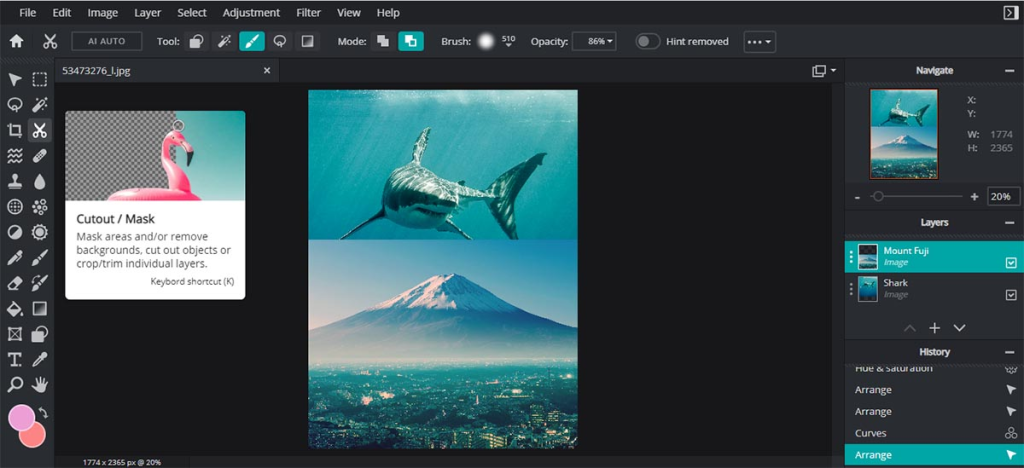
5. Pixlr
Best for: Quick photo edits and simple designs.
- A web-based editor, Pixlr is perfect for users looking for Photoshop-like features without downloads.
- It supports layers, effects, and filters, making it great for touch-ups and creative projects.

6. Gravit Designer
Best for: Versatile graphic design needs.
- This tool is excellent for creating icons, web designs, and illustrations.
- It works on all platforms and even offers cloud storage for your projects.
Step-by-Step Guide to Creating Professional Graphics
Step 1: Define Your Purpose
What are you designing? A logo, social media post, or a flyer? Knowing your goal helps you choose the right tool and layout.
Step 2: Choose the Right Tool
Select a tool based on your needs and skill level. For example, Canva is great for beginners, while GIMP is better for advanced editing.
Step 3: Use Pre-Designed Templates
Templates can save you time and give you a professional starting point. Most free tools come with a variety of templates for different purposes.
Step 4: Customize Colors and Fonts
Consistency is key in graphic design. Choose colors and fonts that align with your brand or project theme.
Step 5: Add High-Quality Images
Use free stock photo websites like Unsplash, Pexels, or Pixabay to find high-quality images. These add a professional touch to your designs.
Step 6: Use Layers and Effects
If your tool supports layers, use them to manage different design elements. Experiment with shadows, gradients, and textures to add depth.
Step 7: Export in the Right Format
Once your design is complete, export it in the right format. For web use, PNG or JPEG works well, while PDF is ideal for print.
Tips for Professional-Looking Graphics
1. Stick to a Simple Design
Overloading your design with elements can make it look cluttered. Focus on clean lines and balanced compositions.

2. Leverage Negative Space
Negative space, or blank areas, can make your design look more polished and less overwhelming.
3. Use High-Contrast Colors
High-contrast combinations, like black and white or blue and orange, make your designs pop and improve readability.
4. Align Your Elements
Proper alignment creates a sense of order and professionalism. Use grid lines or guides to align text and images.
5. Stay Updated with Trends
Graphic design trends change over time. Follow blogs, tutorials, or social media to stay current.
Conclusion
You don’t need expensive software or years of experience to create professional graphics. With tools like Canva, GIMP, and Inkscape, anyone can design stunning visuals for free. Start by exploring these tools, experimenting with templates, and practicing basic design principles.
So, why wait? Open one of these free tools today and start bringing your creative ideas to life. The possibilities are endless, and your journey as a graphic designer is just one click away!
